Blog Thumbnail Generator (블로그 썸네일 생성기)
Blog Thumbnail Generator (블로그 썸네일 생성기) is available to install from Chrome Web Store and for download from this page. It has 82 active users The latest version is 1.1.5, and it was published a year ago.
All available versions
You can find the current and older versions of Blog Thumbnail Generator (블로그 썸네일 생성기) here. You can download the archived versions or inspect their source codes.
As a free user, you can only download the latest version.
| Version | Download | Size | Download count | Timestamp |
|---|---|---|---|---|
| 1.1.5 | CRX · ZIP · Source code | 609.28K | 0 | 2023-11-08 |
| 1.1.4 | Paid users only | 607.23K | 1 | 2023-11-07 |
| 1.1.2 | Paid users only | 11.48K | 1 | 2023-07-16 |
| 1.1.1 | Paid users only | 11.36K | 0 | 2023-07-15 |
| 1.1 | Paid users only | 11.35K | 1 | 2023-06-22 |
| 1.0 | Paid users only | 9.18K | 1 | 2023-05-02 |
Install CRX file
An CRX file is the file format used for distributing and installing browser extensions in Google Chrome, Microsoft Edge, and other Chromium-based browsers. These extensions add functionalities and features to the Chrome browser, enhancing user experience by integrating additional tools directly into the browsing interface. Similar to an executable file, a CRX file contains all the components needed for an extension to run, including JavaScript code, images, CSS files, and other resources.
Option 1: The easy way (for Windows users only)
- Download and run chrome-stats.exe file on your PC. This method will allow you to install Chrome extensions directly from chrome-stats.com in one click. You only need to do this once!
- Type in
chrome://restartin the URL bar to restart the browser for the changes to take effect. - Download and install the Blog Thumbnail Generator (블로그 썸네일 생성기) CRX file
Option 2: Advanced method
- Download Blog Thumbnail Generator (블로그 썸네일 생성기) CRX file
- NOTE: Sometimes the browser may block downloading / installing CRX file from outside the Chrome Web Store. If so, you may need to use option 1, or download the ZIP file instead.
- In the URL bar, go to
chrome://extensions - Enable Developer mode

- Drag and drop the downloaded Blog Thumbnail Generator (블로그 썸네일 생성기) CRX file into the Extensions
page
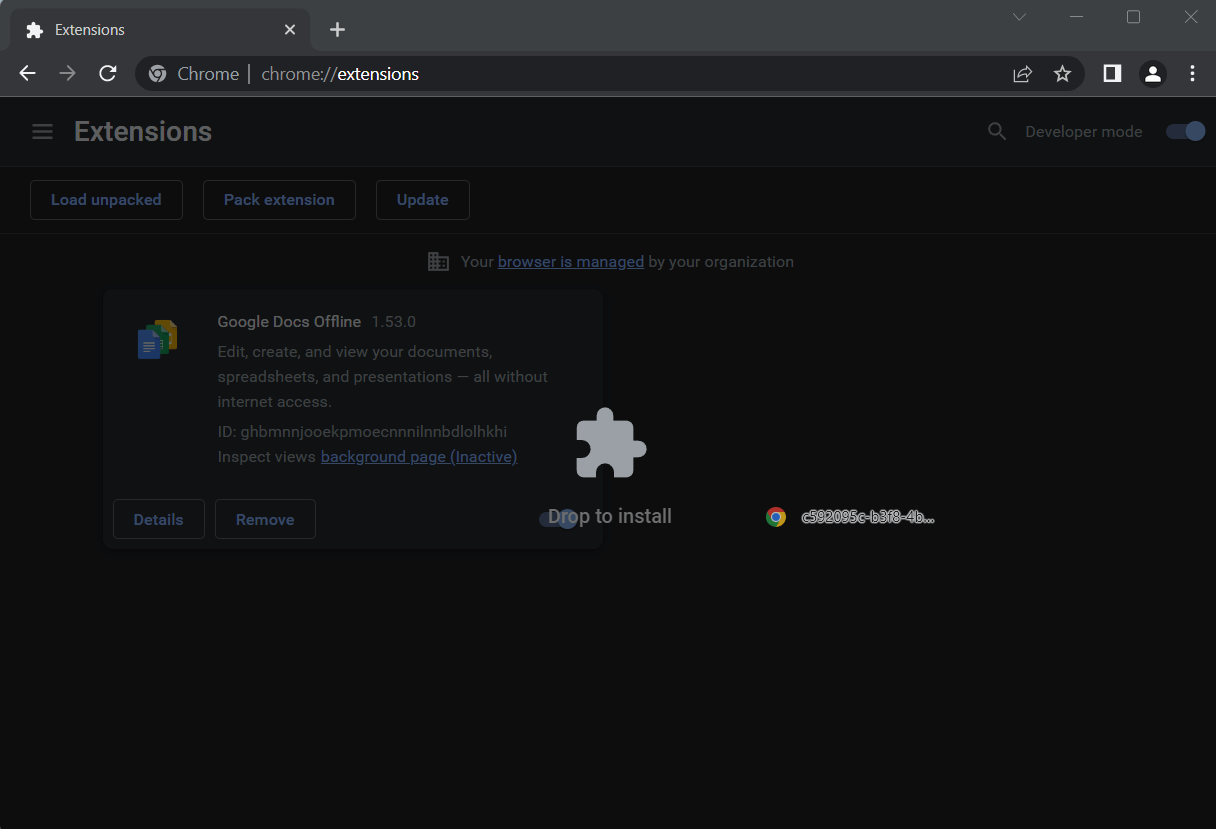
- When prompted, click Add extension to install Blog Thumbnail Generator (블로그 썸네일 생성기).
Install ZIP file
- Download and unpack the Blog Thumbnail Generator (블로그 썸네일 생성기) ZIP file to a directory of your choice.
- In Chrome browser, go to
chrome://extensions - Enable Developer mode.
- Click on the Load Unpacked button.

- Select the directory of with the unpacked Blog Thumbnail Generator (블로그 썸네일 생성기) ZIP file from step 1. Blog Thumbnail Generator (블로그 썸네일 생성기) is now installed on your browser.
Similar extensions
Here are some Chrome extensions that are similar to Blog Thumbnail Generator (블로그 썸네일 생성기):


